 by Phil Holden/photos by the author
One of the greatest aspects of this hobby is scratchbuilding. For many years I have constructed my own logging rolling stock in HO scale and recently decided to dabble in On30 by building a small display layout to take to our local train shows. See the March/April 2022 Gazette for the article on this layout.
In my scratchbuilding endeavors I had made a few pieces of On30 rolling stock, however the next project needed to be something interesting. The plan was to utilize one of my 20-foot flatcars to create a wooden water tank car with a steam driven water pump.
Construction of the flatcar started with scale 6×8- inch timbers for the end beams and center sills. The side sills are 6×12 inch and are notched to fit the end sills. After the side and end sills were glued together, I installed the two center sills followed by 4×6 inch needle beams and 4×12 inch bolsters which sit flush to the center sills. Scale 6×8 inch buffer blocks were added to the end beams, and I fabricated the truss rod (low profile) plates by using .015x.080-inch strip styrene with .020 inch rod set perpendicularly to secure the truss rods on the needle beams. After all of this was complete, I painted the frame in my railroad’s color.
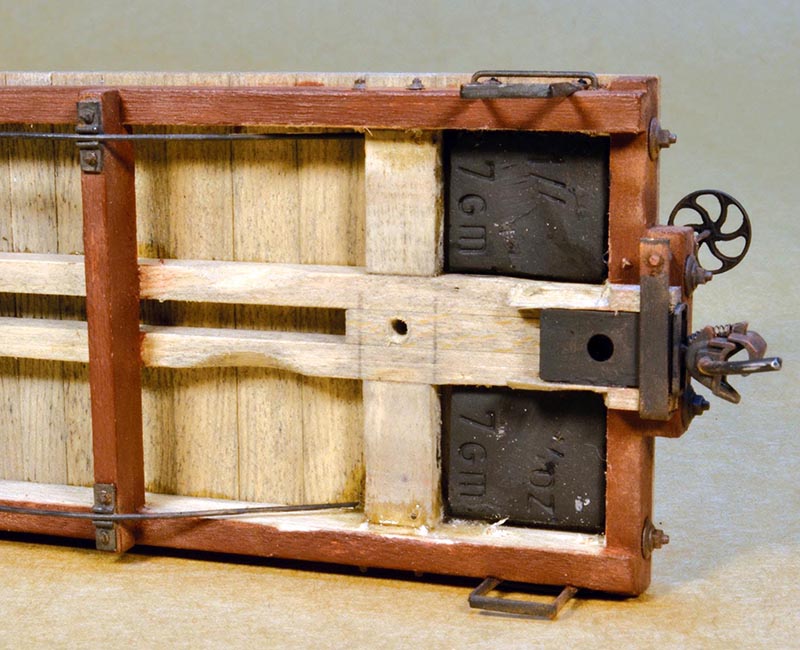
For the truss rods, I used .030 fishing line and Grandt Line brass turnbuckles. I needed to use these for the next step as the plastic turnbuckles do not have the strength. To create the space in the turnbuckle between each truss rod I melted one end of the line to form a small ball and inserted it through the inside of the turnbuckle. I then did the other end of the turnbuckle with the same process and subsequently glued the truss rods into the inside top of the bolsters. You will see that from the detail photos I use only two truss rods. This is due to the tight turns on the display lay-out; the center rods would interfere with the trucks. Also notice how the center sills and draft timbers were modified for clearance.
The next step was to attach the Kadee no. 5 couplers in no. 262 coupler boxes. In addition, I added draft timbers to the sides of the coupler boxes with scale wood. I should mention that I also model in HO scale, so at times I will use HO scale lumber where it will work. To that end, the wood used for this detail was HO scale 6 x 10s.
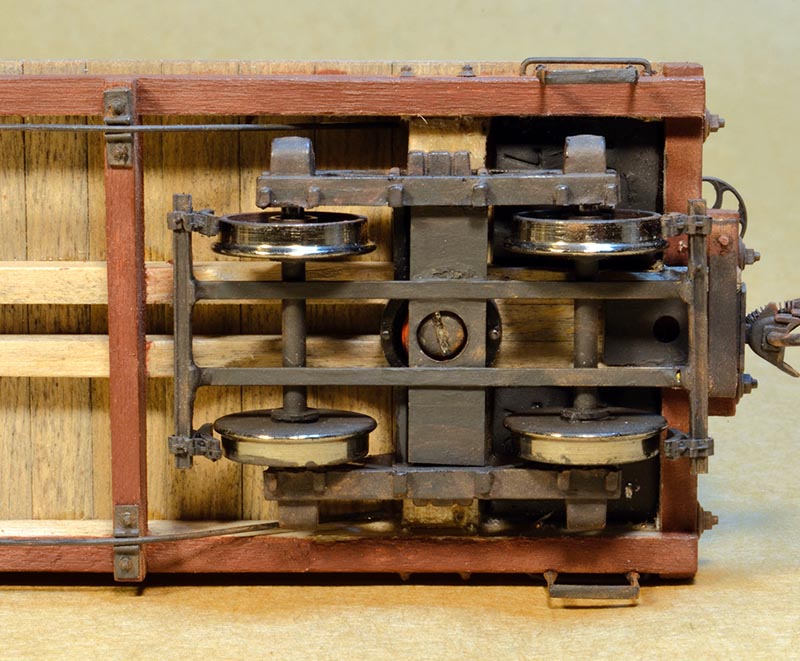
To complete the flatcar’s frame, I add-ed scale 3-x12 inch top boards followed by lead weight added to the underside. I use discarded thin motorcycle wheel weights in the 1/4 -oz. size that I obtained from a local bike dealer. Depending on your trucks and wheel diameter you may need to carve some relief into the wheel weights to provide clearance.
For the final details on the flatcar, I used both 1:48 and 1:87 scale nut-bolt-washer castings. For the brake ratchet/pawl and brake wheel I used Grandt Line no. 94 along with .015- x .060-inch brass flat bar stock for the underside brake rod support and lastly no. 93 stirrup steps. Since this is not a contest model, I decided to omit any underside brake hardware as you would not see these details.
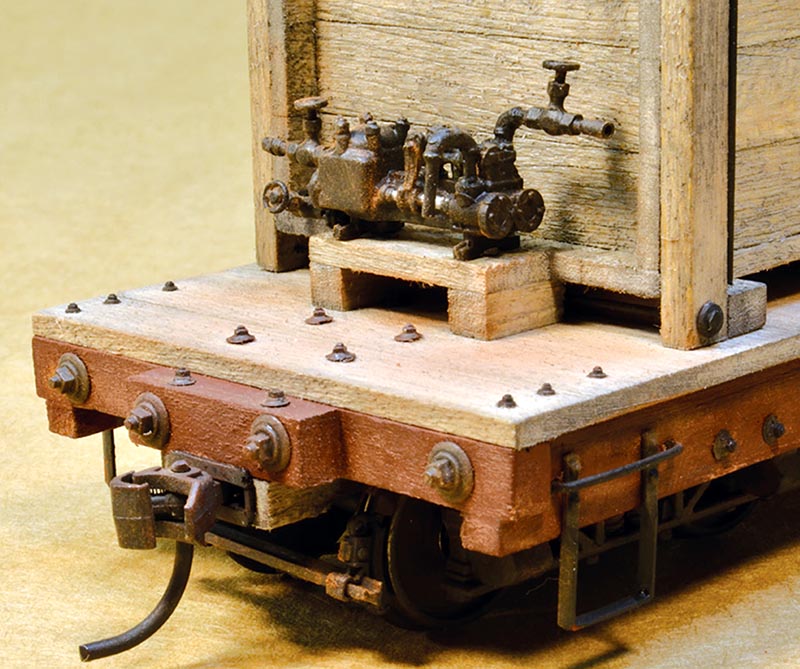
I used Bachmann archbar trucks and removed the top molded-on spacer where the truck would mount to the car’s bolster. This was done to lower the car for the hunkered down look that is so prevalent in narrow gauge models. To give a little space between the truck and bolster/center sills, I used Kadee Gray 0.010′ washers which placed the car at the correct On30 coupler height. I fabricated the brake beams using Grandt Line no. 29 brake beam/shoe details and .015x.060 inch brass flat stock for the supports.
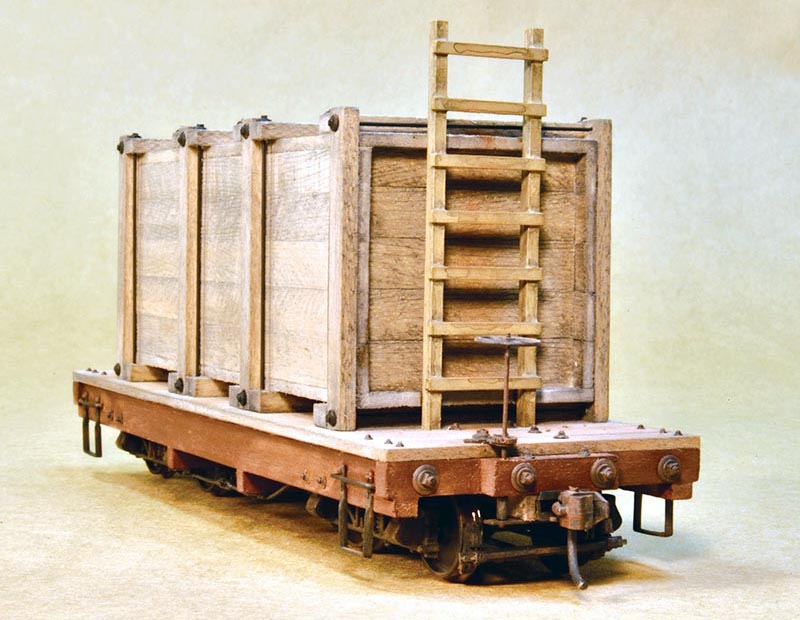
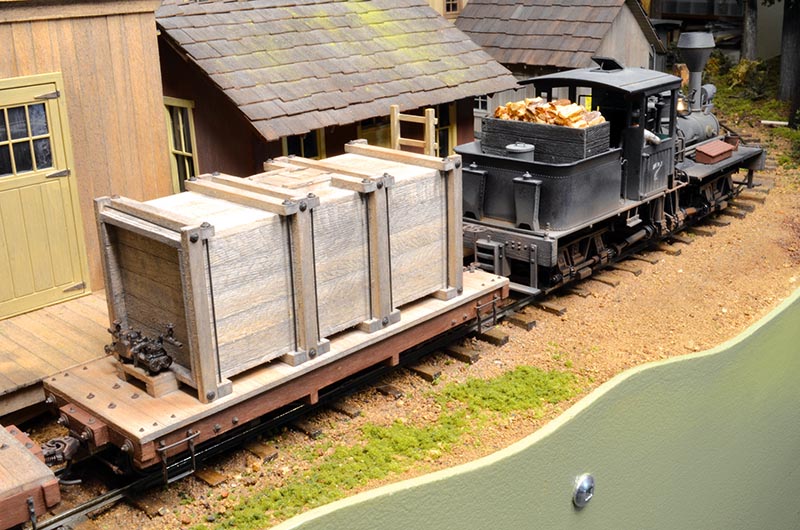
Now that the flatcar was complete, it was time for the water tank. To create some structural strength, I started with a core of .060-inch styrene to which I added stained scale 3×12 inch boards to create the tank. For the external sup-ports, I again used some HO scale lumber in 10×16 inch and 10×12 inch sizes. The support tie rods are .020 Phosphorus Bronze wire and Grandt Line no. 139 .020 cored NBWs. I also added a water hatch on top of the tank with scale wood and hinges from a Grandt Line no. 5095 hinge assortment.
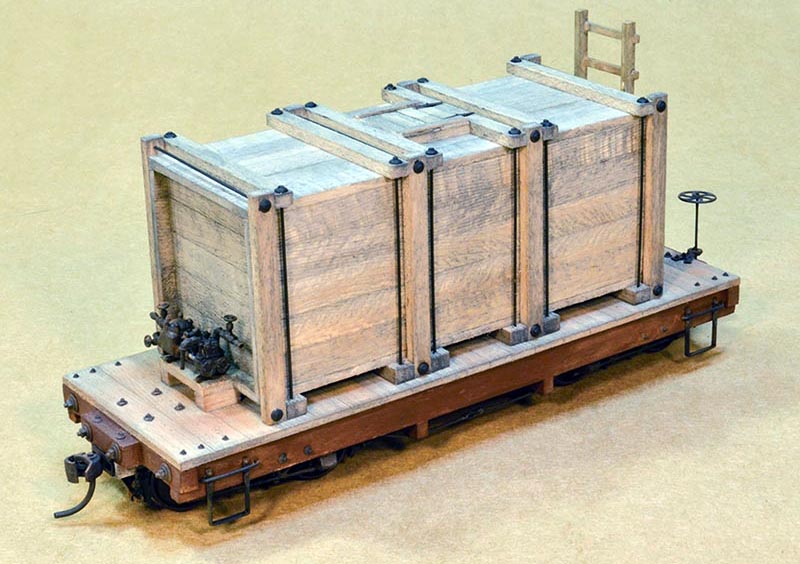
The next step was to add the water pump and all the plumbing. I used a no. 4006 pump, no. 4840 globe valves along with no. 48393 elbows from Precision Scale to complete the process. I also added a ladder to the other end of the car utilizing an O scale ladder kit from Evergreen Scale Models.
After a bit of weathering, the On30 water car was finally done and has be-come a welcomed addition to the fleet. This is a project that can be accomplished in a few evenings work and is not that difficult to do. I wonder what is next, maybe a tank car… Give it a try!
