
 I do not like wiring model railroads, but after three months of putting it off, I have finally soldered the dropper wires on my Eureka Mill Railroad diorama. When I started on my On3 Tuolumne Forks Lumber Company layout in 1980, I sent a track plan to my friend, the late Gordon North. He quickly sent back a color coded diagram showing each and every wire and switch for a three cab PFM control system. He even modified my PFM sound systems for tethered walk around control and sent me one of his special internal combustion sound systems. I really miss Gordon!
Over the next 25 years, I added PFM sound components to my locomotives and enjoyed running them. The PFM system had a lot of components, and you had to have an interrupter on an axle to get the chuff. Most of my On3 locomotives still have their PFM parts.
About ten years ago, I decided to change to DCC. I decided on the CVP Easy DCC System because Dave Adams, and the late Jim Vail, were installing this system on their layouts and I knew I would need all the help I could get. After installing my system (I merely had to open my blocks by throwing their switches), Dave showed me how to manipulate the system and installed a decoder in one of my Shays. Jim was always there, and Dave still is if I have a question or something goes wrong.
One of the nice things about the CVP system is how flexible it is. When I added my On30 limestone railroad over my workbench, I just ran two wires from Tuolumne Forks to the new layout and used my wireless throttles. When I added a back and forth standard gauge vintage hotel scene, I ran two more wires over to it, and off it went. When I added a second On30 track to entertain visitors, I again ran two wires to the new track and again off it went. I found using Micro Engineering turnouts with their insulated frogs on the On30, made wiring easy. I simply added bus and dropper wires, and the insulated frogs did the rest.
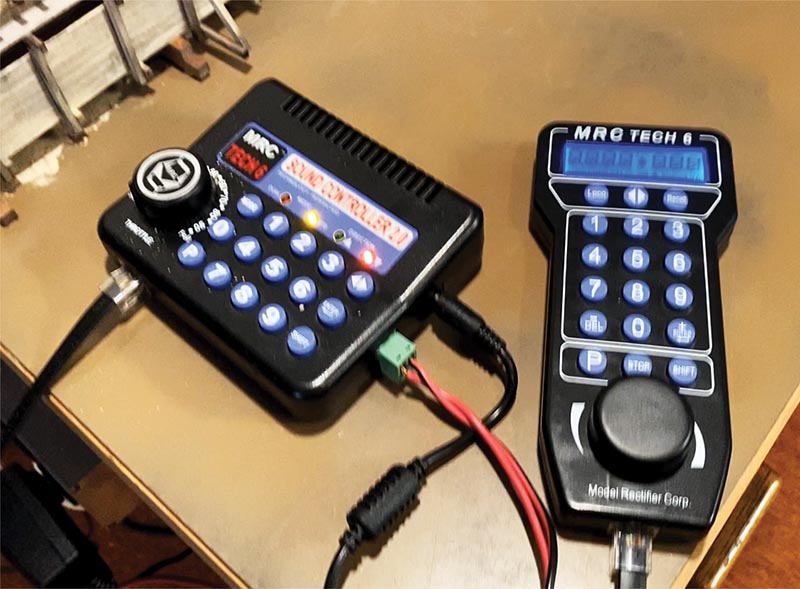
The MRC Tech 6 Sound Control 2.0 Power Pack and hand controller.
So, what to do about wiring My Eureka Mill diorama? I thought maybe I could drill holes in the floor of my layout room (the ceiling of the office), and run two wires down it. However, this seemed a bit excessive. Then my eyes fell on an ad for the MRC Tech 6 Sound Control 2.0 Power Pack. The ad said you merely had to hook two wires to your track and choose DC or DCC. I ordered one of these power packs, installed it (easy), and found I could run both DC and DCC locomotives. I didn’t see how to address just one locomotive, and I couldn’t (as far as I could see) address a decoder, but I did have access to a bunch of CVs. Then I noticed MRC sold a hand throttle. So, I ordered one and found I could address decoders, and access one locomotive at a time. Great, I was in business for just over $200.00.
Then it bit me! I had never run a Bachmann Porter 0-4-0 and didn’t realize the short wheelbase would have trouble on those insulated frogs. My Porter would stall or hesitate on the frogs. If I got a running start, I could blast through a frog, but that was not okay. What to do? I could add a Current Keeper, but I didn’t want to mess around with the Porter’s electronics, and I wasn’t sure it would fit. I could use longer wheelbase locomotives, such as my Bachmann Heisler, or even freelance an internal combustion locomotive on an HO diesel mechanism. Don’t they run beautifully? But that would be too large a compromise.
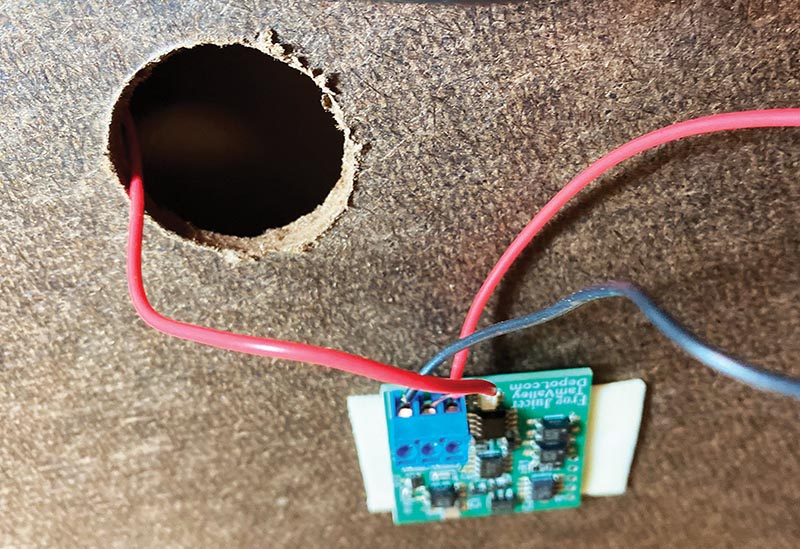
One of the Frog Juicers next to the 1-inch diameter hole drilled to “fish” the dropper wire from a turnout frog.
I am sure there are other things I could have done, but I decided to be fancy and add a Frog Juicer to each of my three turnouts. I got my juicers from Tam Valley Depot. All I had to do was run a wire from each juicer to each bus wire, and solder a third wire to each frog. However, the three turnouts on my layout are on a platform above the surface of the layout. If I drilled a hole for a juicer wire in the wood deck, how would I be able to “fish” the wire down through a hole in the layout? I solved this by cutting a 1-inch diameter hole in the layout under each turnout and running a wire down through it. This worked well. Then I wired the juicers, and my layout went dead. I could use clip leads and get a locomotive going, but not through my bus or power pack. Have I mentioned I don’t like wiring?
After several hours of fiddling, I determined that when I had soldered one of the juicer wires to a spot on my bus wire where a dropper wire had been soldered, I must have had a cold joint and unsoldered the dropper wire. When I flooded the joint with solder, the layout came back to life. However, all that fiddling and testing with DC must have shorted out the juicers because the LEDs were off, and the frogs were dead. One frustrating thing I did find out was that my DC Porter ran across all the frogs with no hesitation, while my identical DCC Porter would still stall.
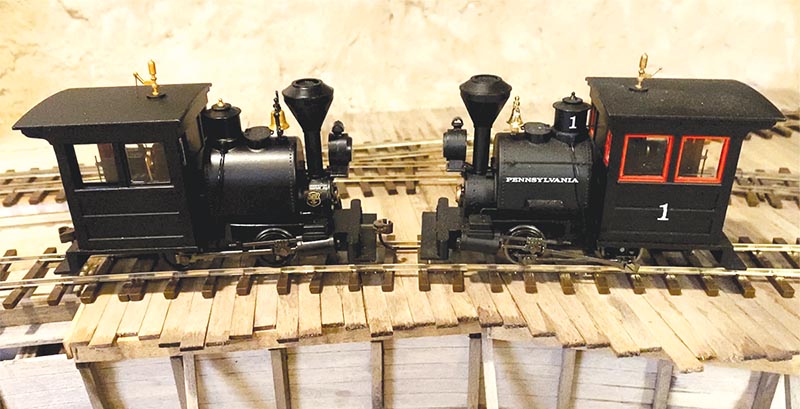
Two identical Bachmann Porters. The one on the left is DC and runs over all the frogs. The right hand DCC Porter stalls.
I contacted Gary Bothe and he suggested making sure all the wipers on my DCC Porter were touching the drivers. So, I dropped the cover plate on the DCC locomotive, made sure the wipers were touching, and tried the locomotive again. A bit better, but not okay. So, I can either run my DC Porter with no sound, or…? I guess the best way to go will be to install a Current Keeper after all.
So, My Eureka Mill Railroad is now running, and while I dislike wiring, I love seeing my little DC Porter shuffling back and forth.
—Bob Brown, Editor
